Repair Tips: Halyards and Seacocks
November 14, 2019
Halyard Replacement Without Climbing or Lowering the Mast
An important key to this working is to look where the new halyard will thread through the mast or blocks and ensure that the correct ends are being attached so that the final result is not a halyard shackle on the wrong end of your new halyard!

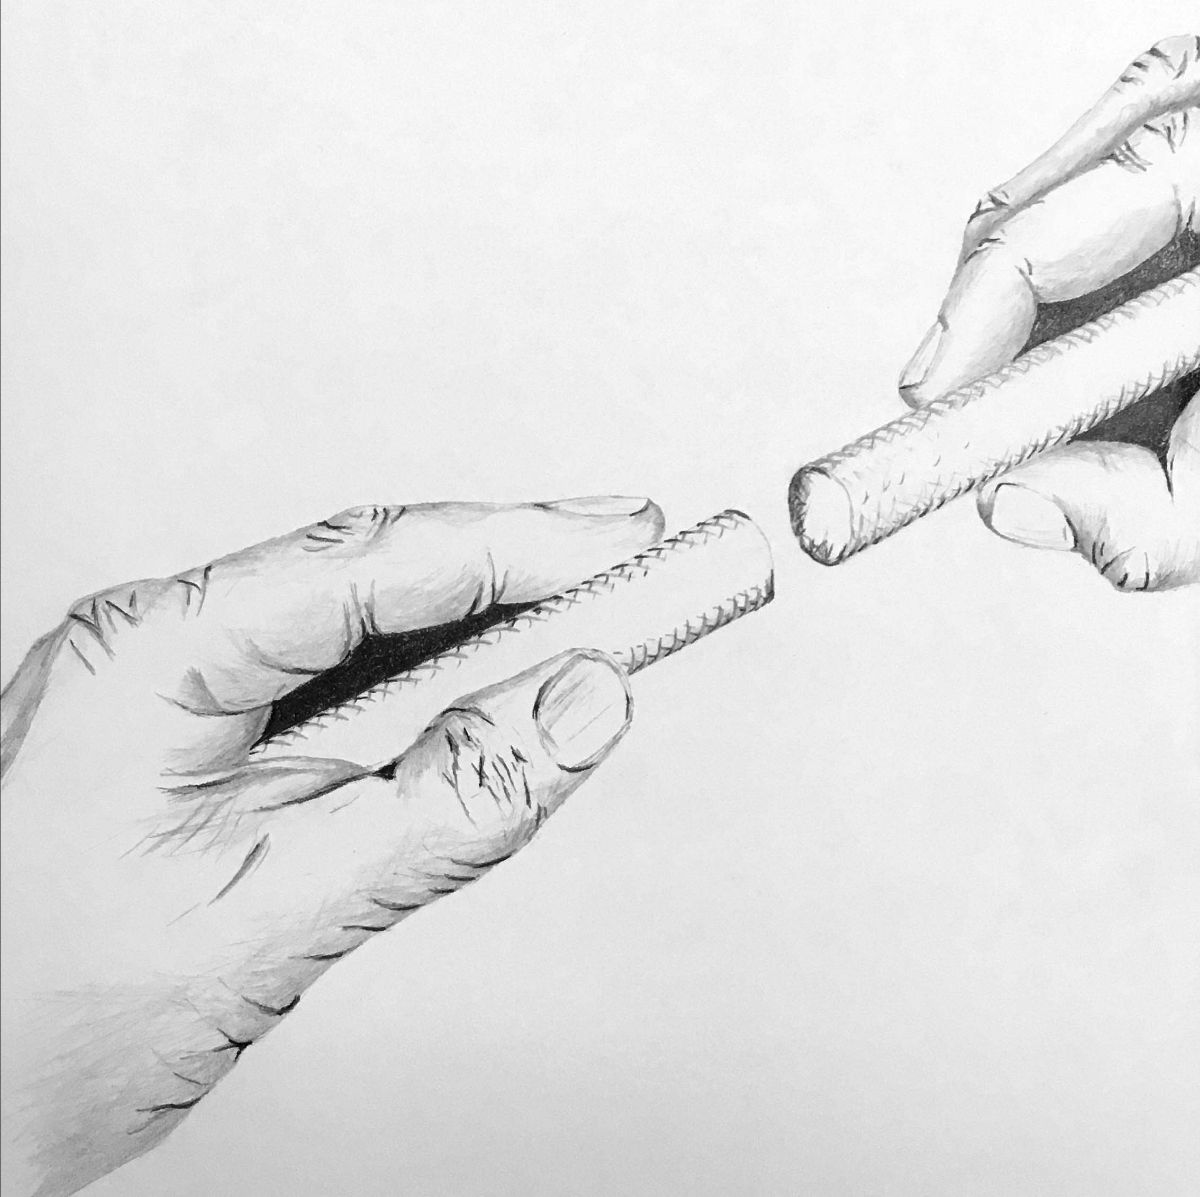
Step 1: Connect the old halyard which is in place to the new one.

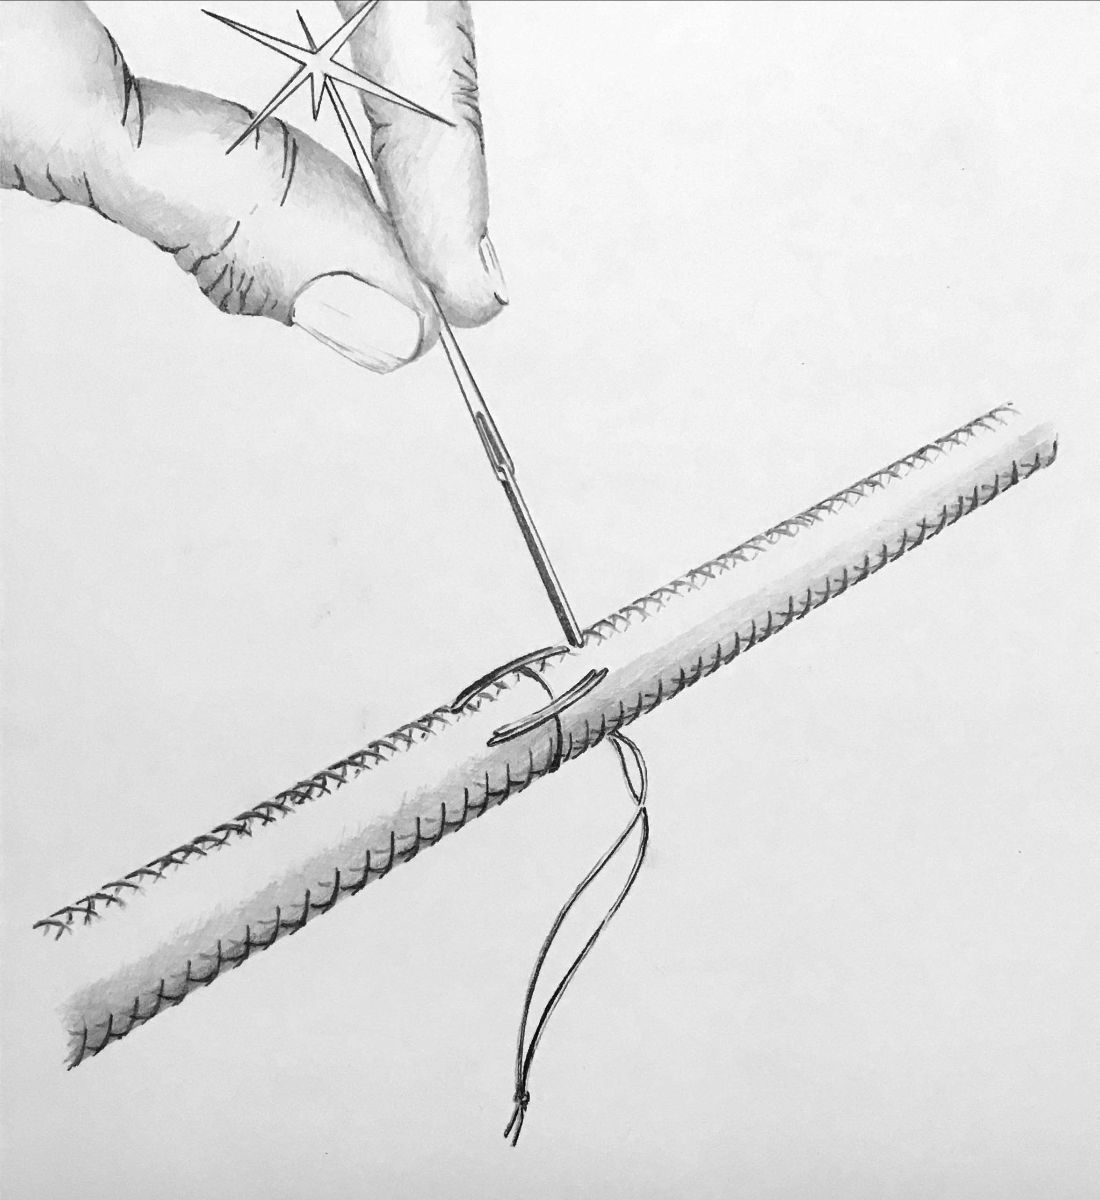
Step 2: Connect the two with needle and thread (fishing line works well)

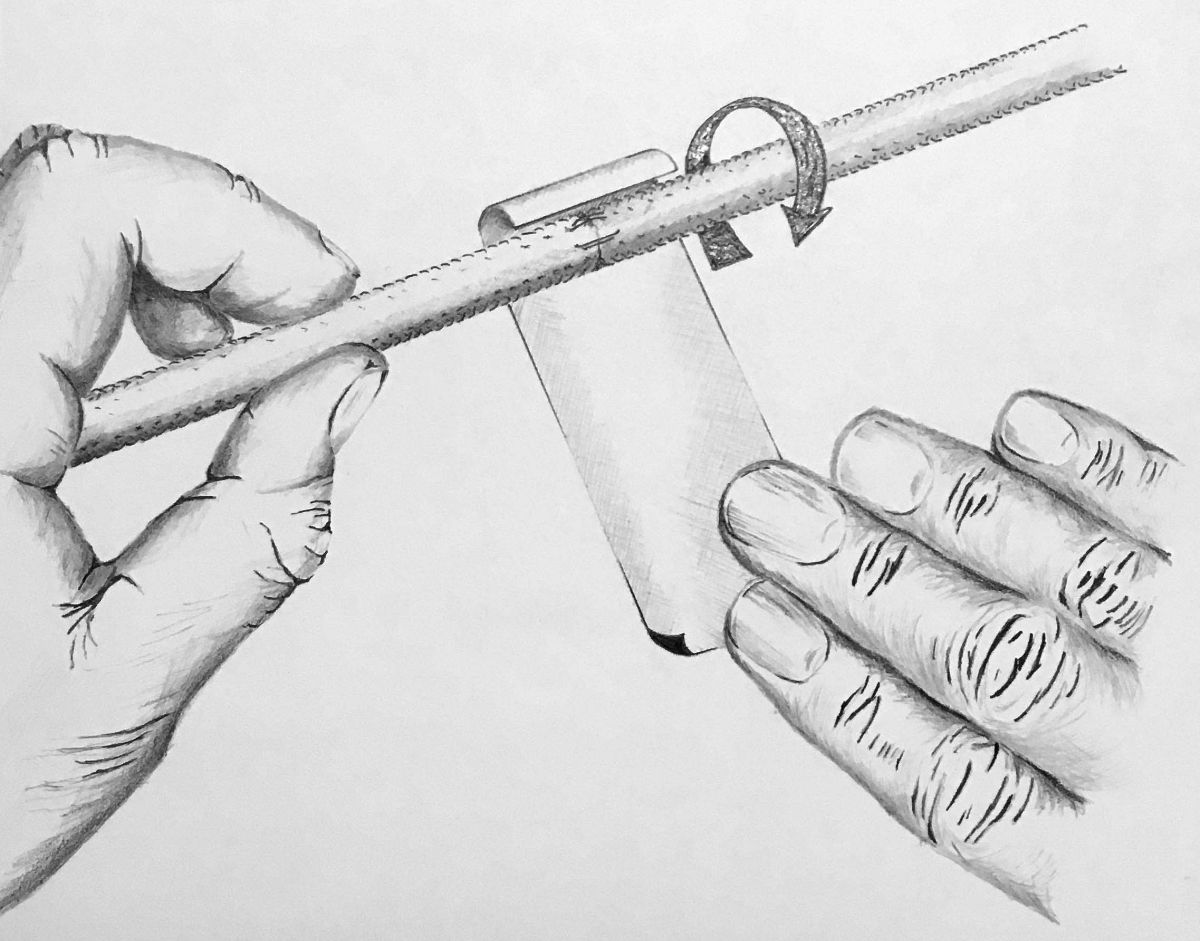
Step 3: Cover the connection with thin tape such as sail repair tape.

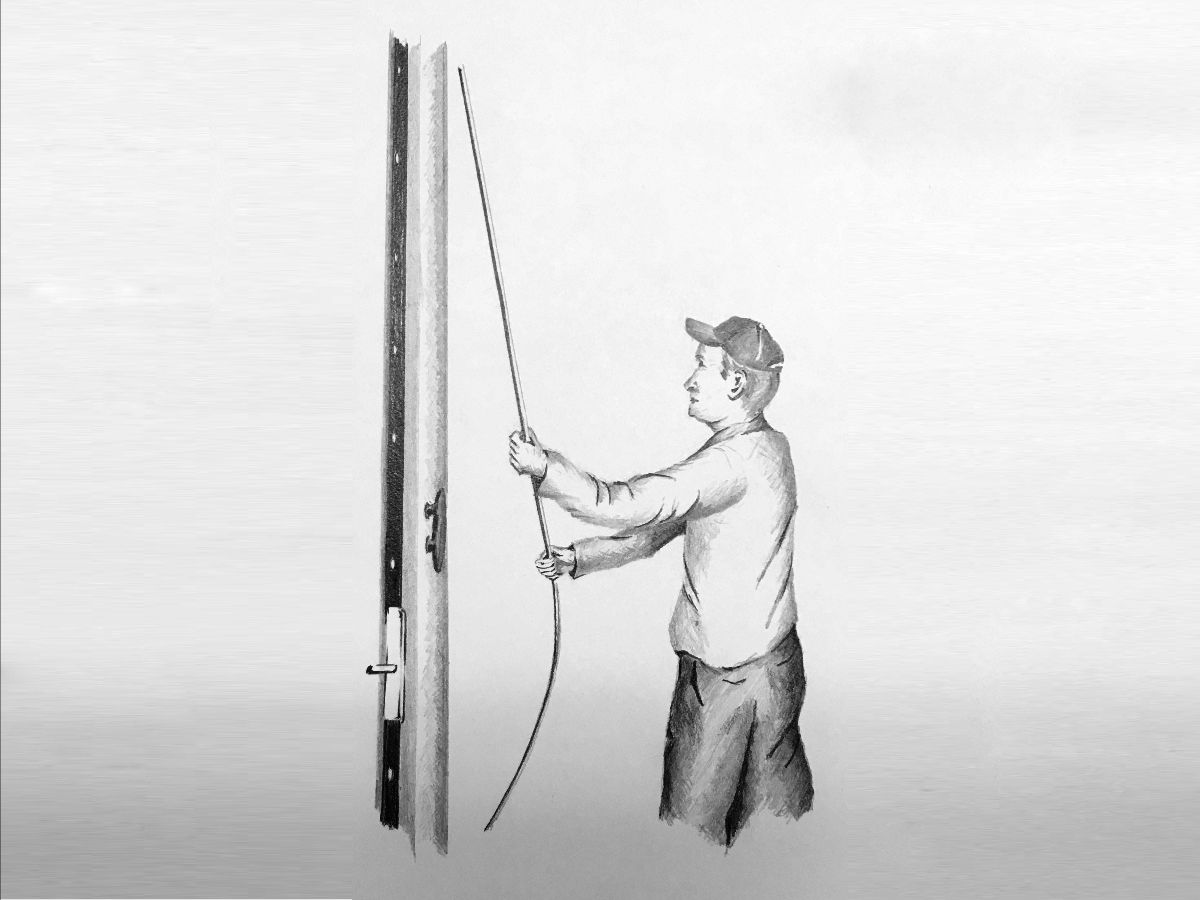
Step 4: Pull the new halyard through using the old halyard. (Make sure your halyard shackle is on the correct end or cut and splice.)
Seacocks When Leaving My New Boat
A graduate has questions about seacocks. See Questions from graduate and Answers from Captain Thom Burns below.
Q Until now, I've never had a boat that had seacocks so I don't know recommended protocol.
A If you ask twenty boaters, you'll get twenty conflicting answers.
Q We live about 4 plus hours from the boat and there will be times when it goes 2 weeks without someone on board.
I have two sink drains, the engine intake via the strainer and the head intake (four total).
A The key here from my perspective is not really how far you live from the boat. But how the boat is used. If the seacocks are left open, your only defense against a catastrophic seacock failure will be your bilge pumps and an alert marina staff. Our boats are used in a teaching environment and they are bareboat chartered. In our case (four) big boats on Lake Superior I leave them open. That being said, these boats are checked on a regular basis by sailing Captains. Also, I personally don't like students, charterers, etc. messing around with seacock valves on thru hull fittings. I think you also need to address catastrophic seacock/hose failure. This is very rare and requires either the seacock to break off or the hose to come completely off or nearly so. From an owner of several older boats my experience is that what usually happens is the seacock and or the hose begins to leak. I always address this before it has the opportunity to become catastrophic. I am balancing the risk of how the boat is used against the unlikely risk of catastrophic failure. The opening and closing of older seacock valves is a risk in itself see above.
Q The hoses seem to be in good shape but appear to be original green garden hoses with double hose clamps.
A This information by itself would change my answer. Get those garden hoses off your boat! They are not made for how they are being used. Proper marine specification hoses need to be on your boat and they should be double clamped. Make yourself a checklist and close your seacocks when leaving the boat until the garden hoses are replaced. If this is outside your DIY (do it yourself) wheelhouse, it is time for a work order for professional help. Don't procrastinate on this one!
Safe, Fun, Learning and Sailing.
--
Captain Thom Burns
Northern Breezes Sailing School
“Best of Minneapolis 2009, 2010, 2011, 2012, 2013, 2014, 2015, 2016, 2017, 2018, 2019, 2020, 2021, 2022, 2023, 2024”
American Sailing Association
612-597-7399 phone
![]() Visit us on Facebook at Northern Breezes Sailing School
Visit us on Facebook at Northern Breezes Sailing School

